Plan:
- 2 people + protections
- 1 clamp
- 1 screwdriver with a 10mm bit
- 1 large flathead screwdriver
- 1 shim
- 1 new arm + perforated strap
- door in manual mode (motor trolley disengaged)
Procedure:
1 - Open the door and secure it with a clamp in the rail, in front of a roller
(No intervention if the door is closed and springs are tensioned!!!)
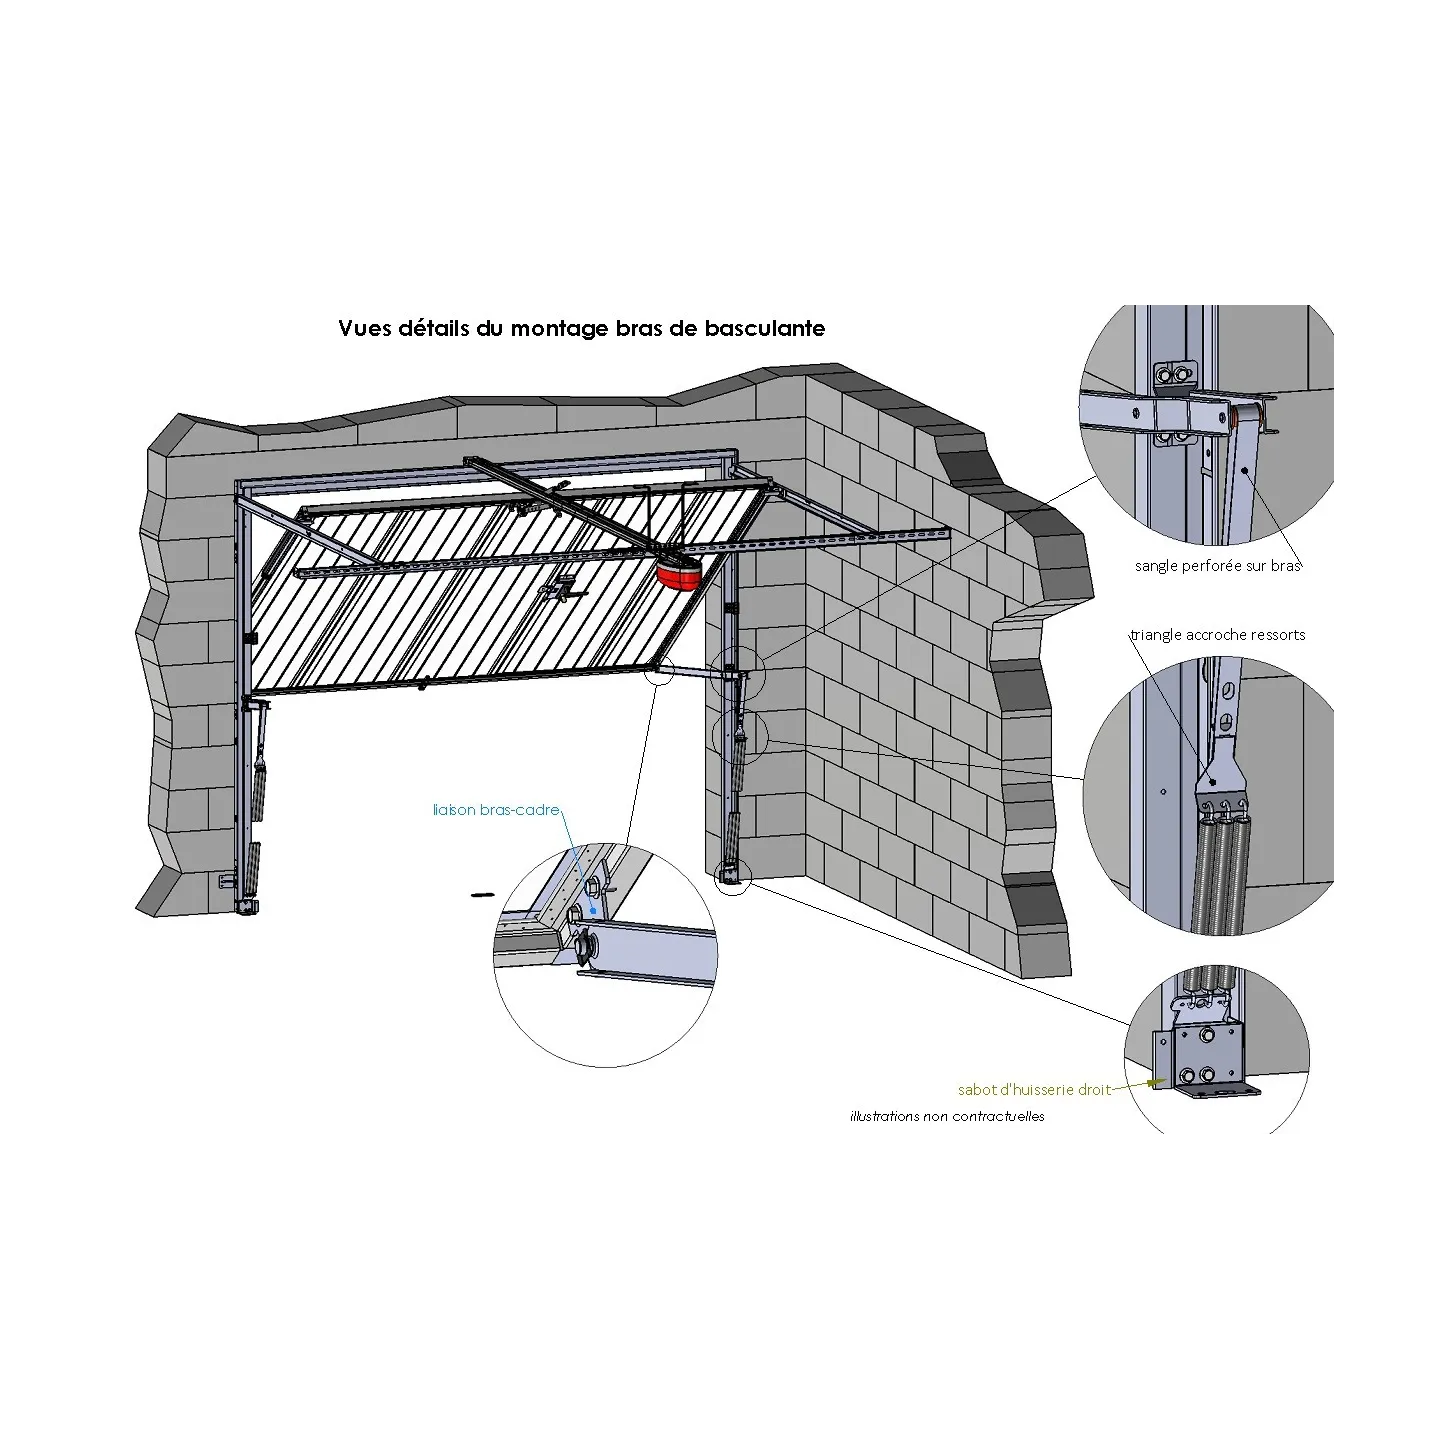
2 - Unhook the springs one by one on the side of the arm to be replaced and remove the perforated strap from the arm
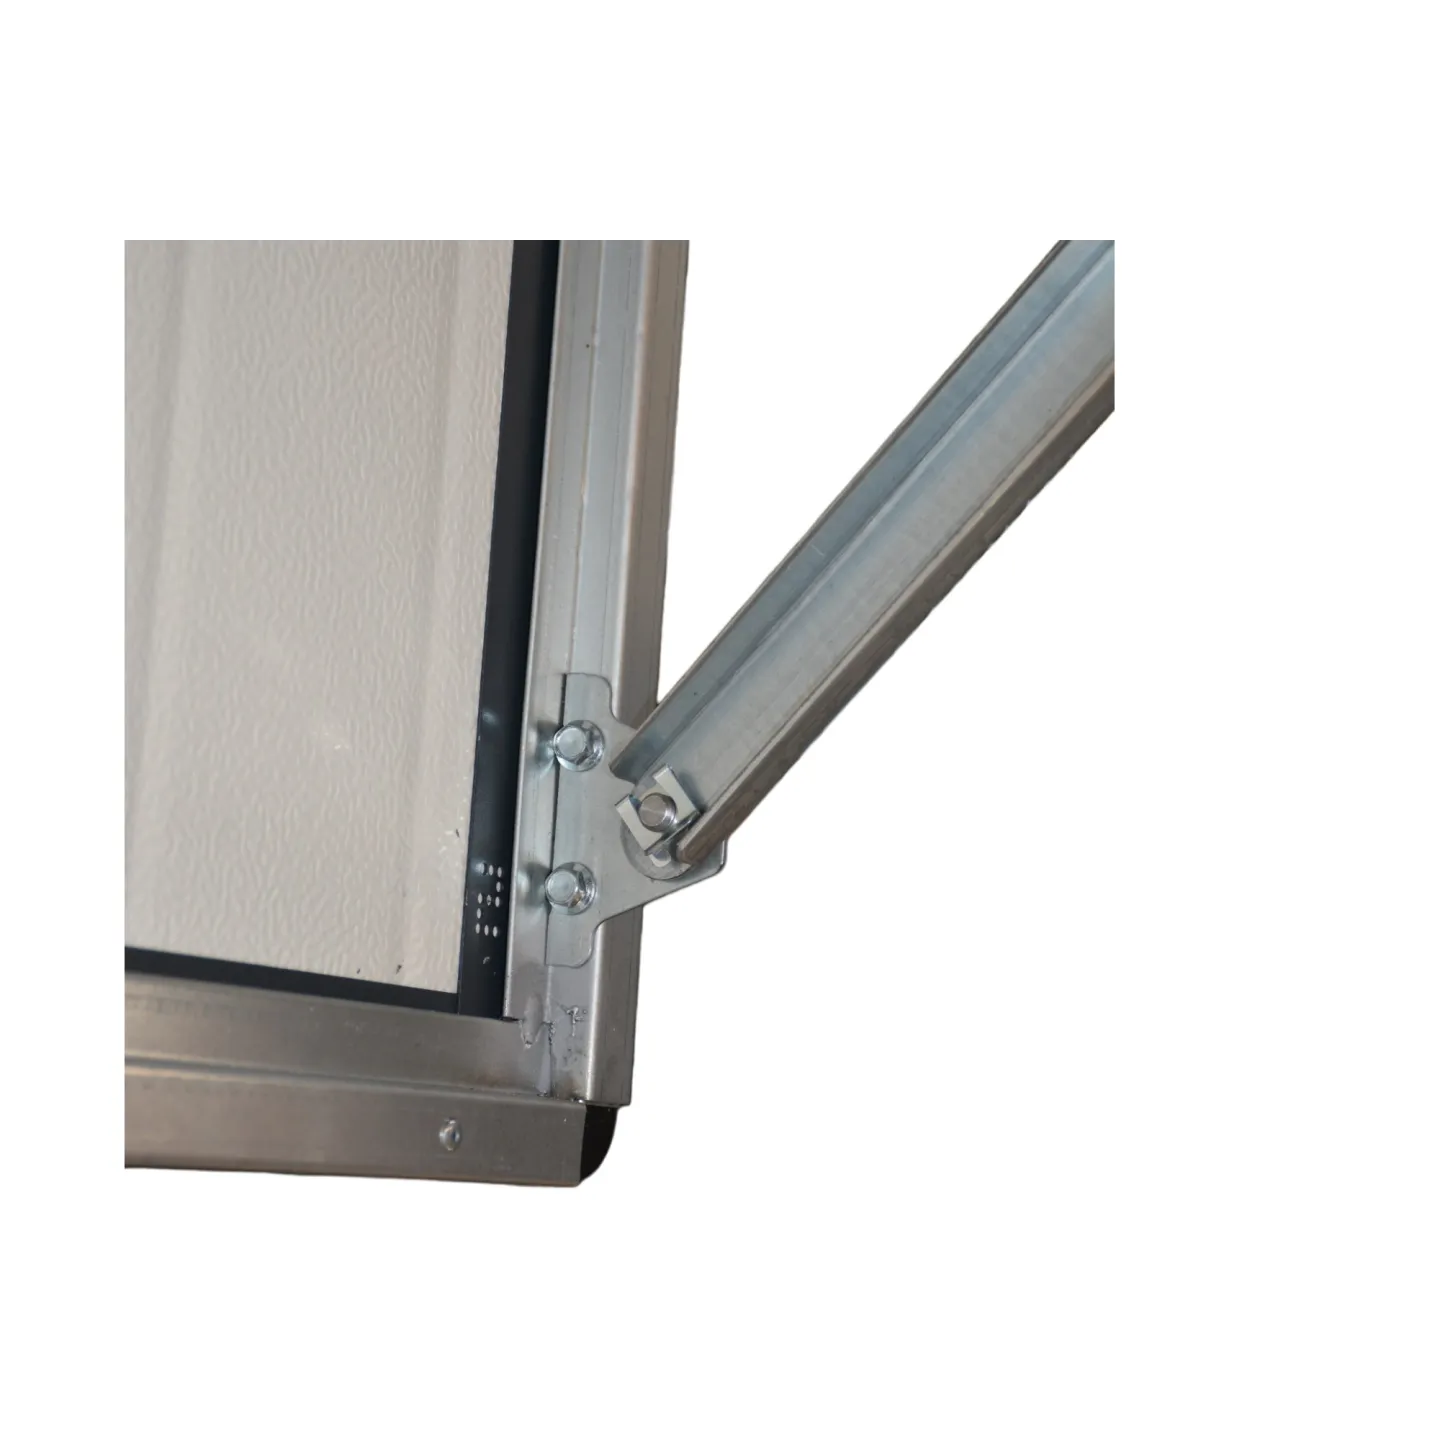
3 - Using a screwdriver with a 10mm bit, remove the 2 upper screws that hold the arm to its pivot
4 - Support the bottom of the tilting garage door with a second person
5 - Remove the clamp that blocks the roller
6 - Gently close the door with two people, one inside and one outside
!! CAUTION DELICATE MANEUVER !!
Be careful as there are no more springs, the weight of the door may be surprising! Be cautious if the door has no handle; the maneuver will have to be done from the bottom of the frame, so watch out for pinching risks during the maneuver and at the end of the closure
7 - Once the door is closed, secure it with a clamp in the rail, in front of a roller
8 - Place a small shim under the frame of the door, of the same height as the space between the floor and the frame
9 - Remove the clip at the end of the arm (attached to the connecting piece at the bottom of the panel) using a large flathead screwdriver
10 - Using a screwdriver with a 10mm bit, remove the 2 lower screws that hold the arm to its pivot
THE DEFECTIVE ARM IS NOW REMOVED, TIME FOR THE NEW ARM
1 - Using a screwdriver with a 10mm bit, fasten the 2 lower screws that hold the new arm to its pivot
2 - Fit the bottom of the arm onto the connecting piece at the bottom of the panel and replace the clip
3 - Remove the clamp
4 - Open the door with 2 people, gently and safely
5 - Using a screwdriver with a 10mm bit, fasten the 2 upper screws that hold the arm to its pivot
6 - Secure it with a clamp in the rail, in front of a roller
7 - Replace the new perforated strap
8 - Reattach the springs to the perforated strap (in the same hole as before, see the other side)
9 - Remove the clamp that blocks the roller
10 - Close gently
11 - Conduct several manual tests for control

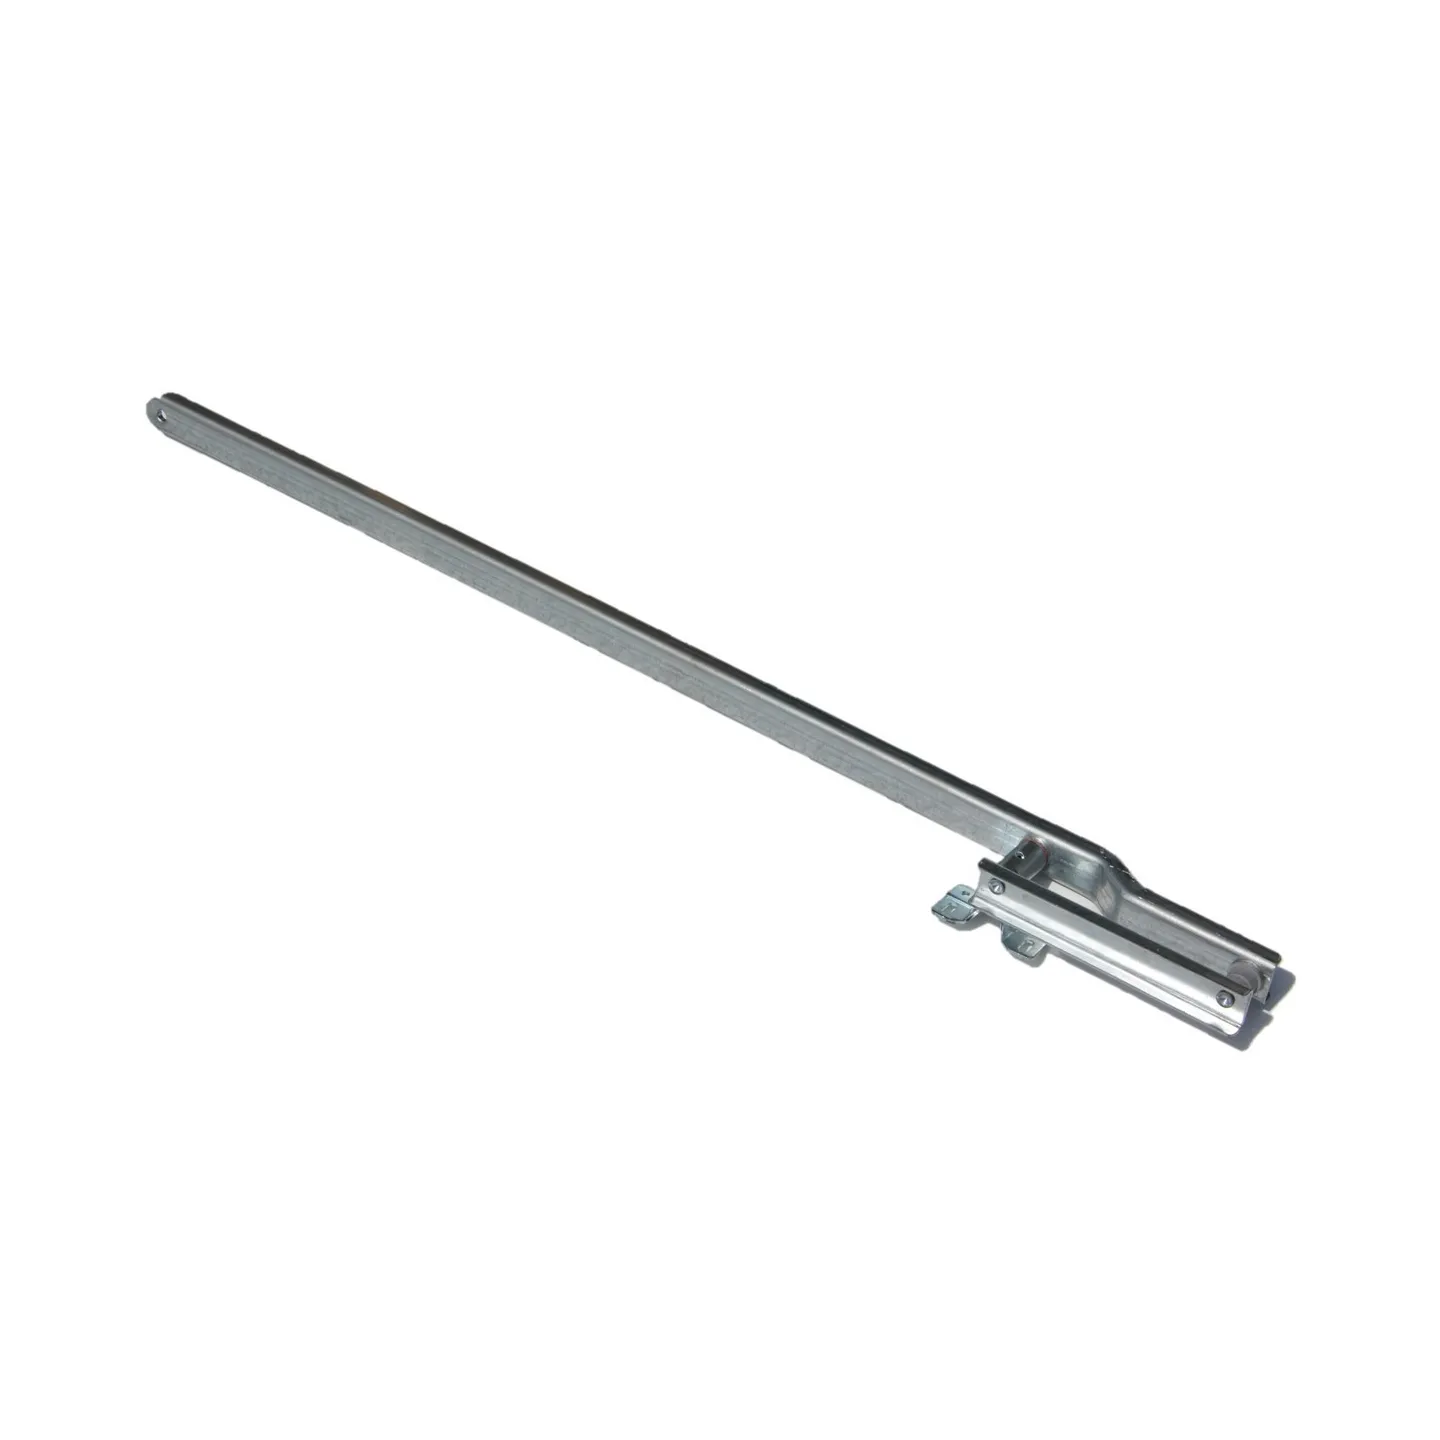
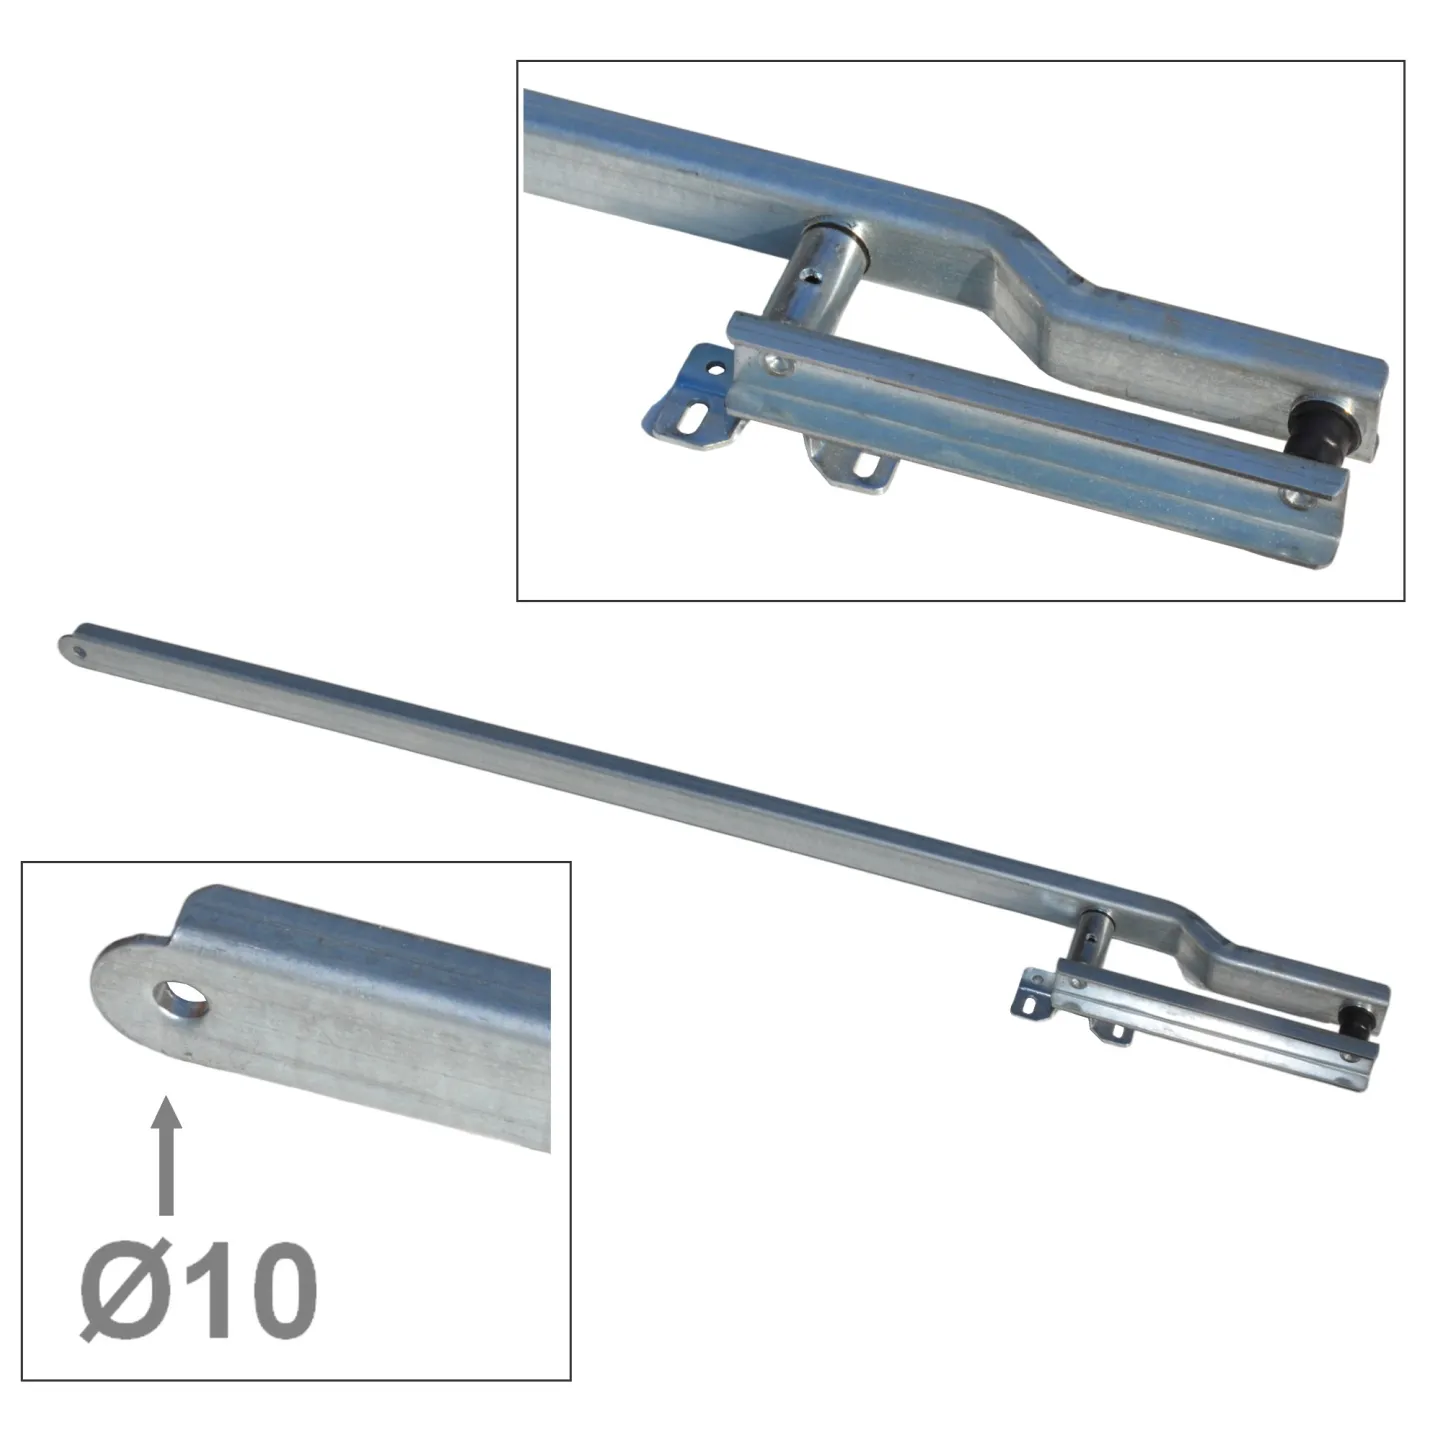
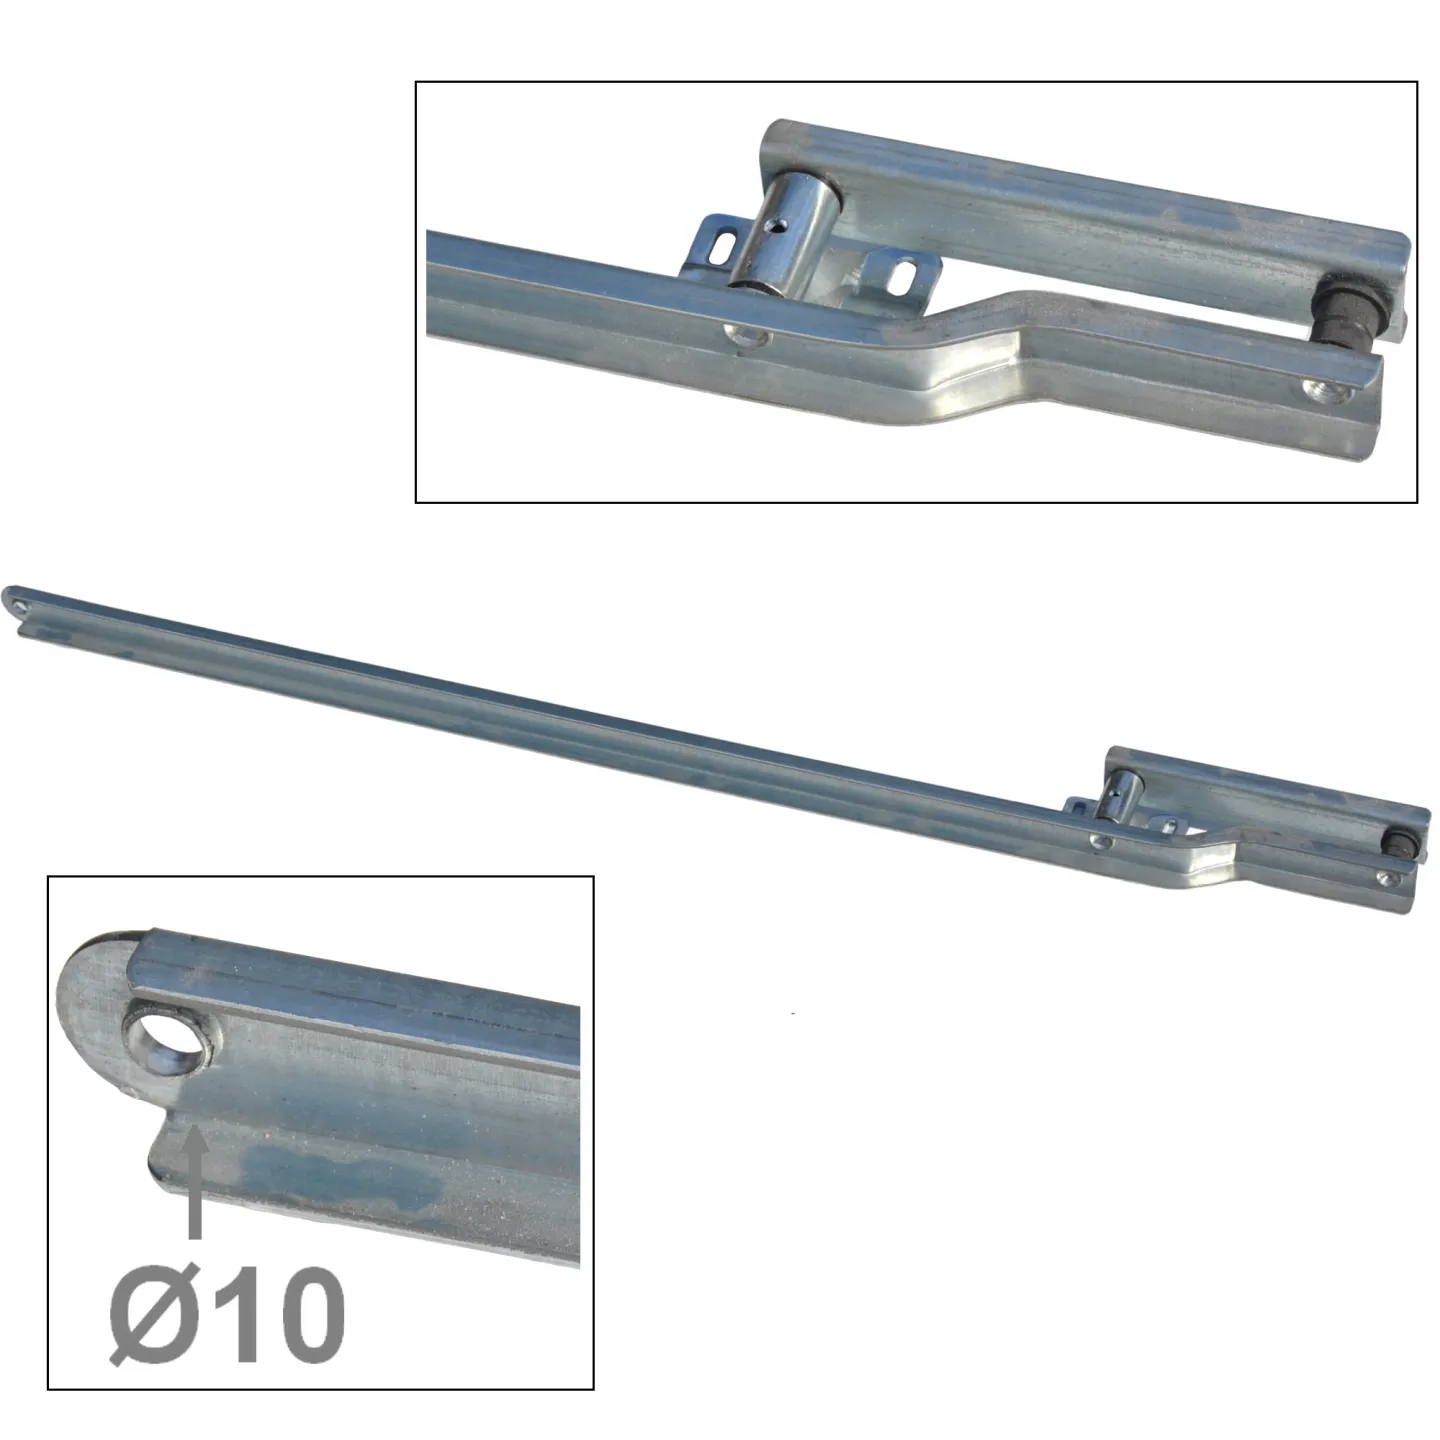
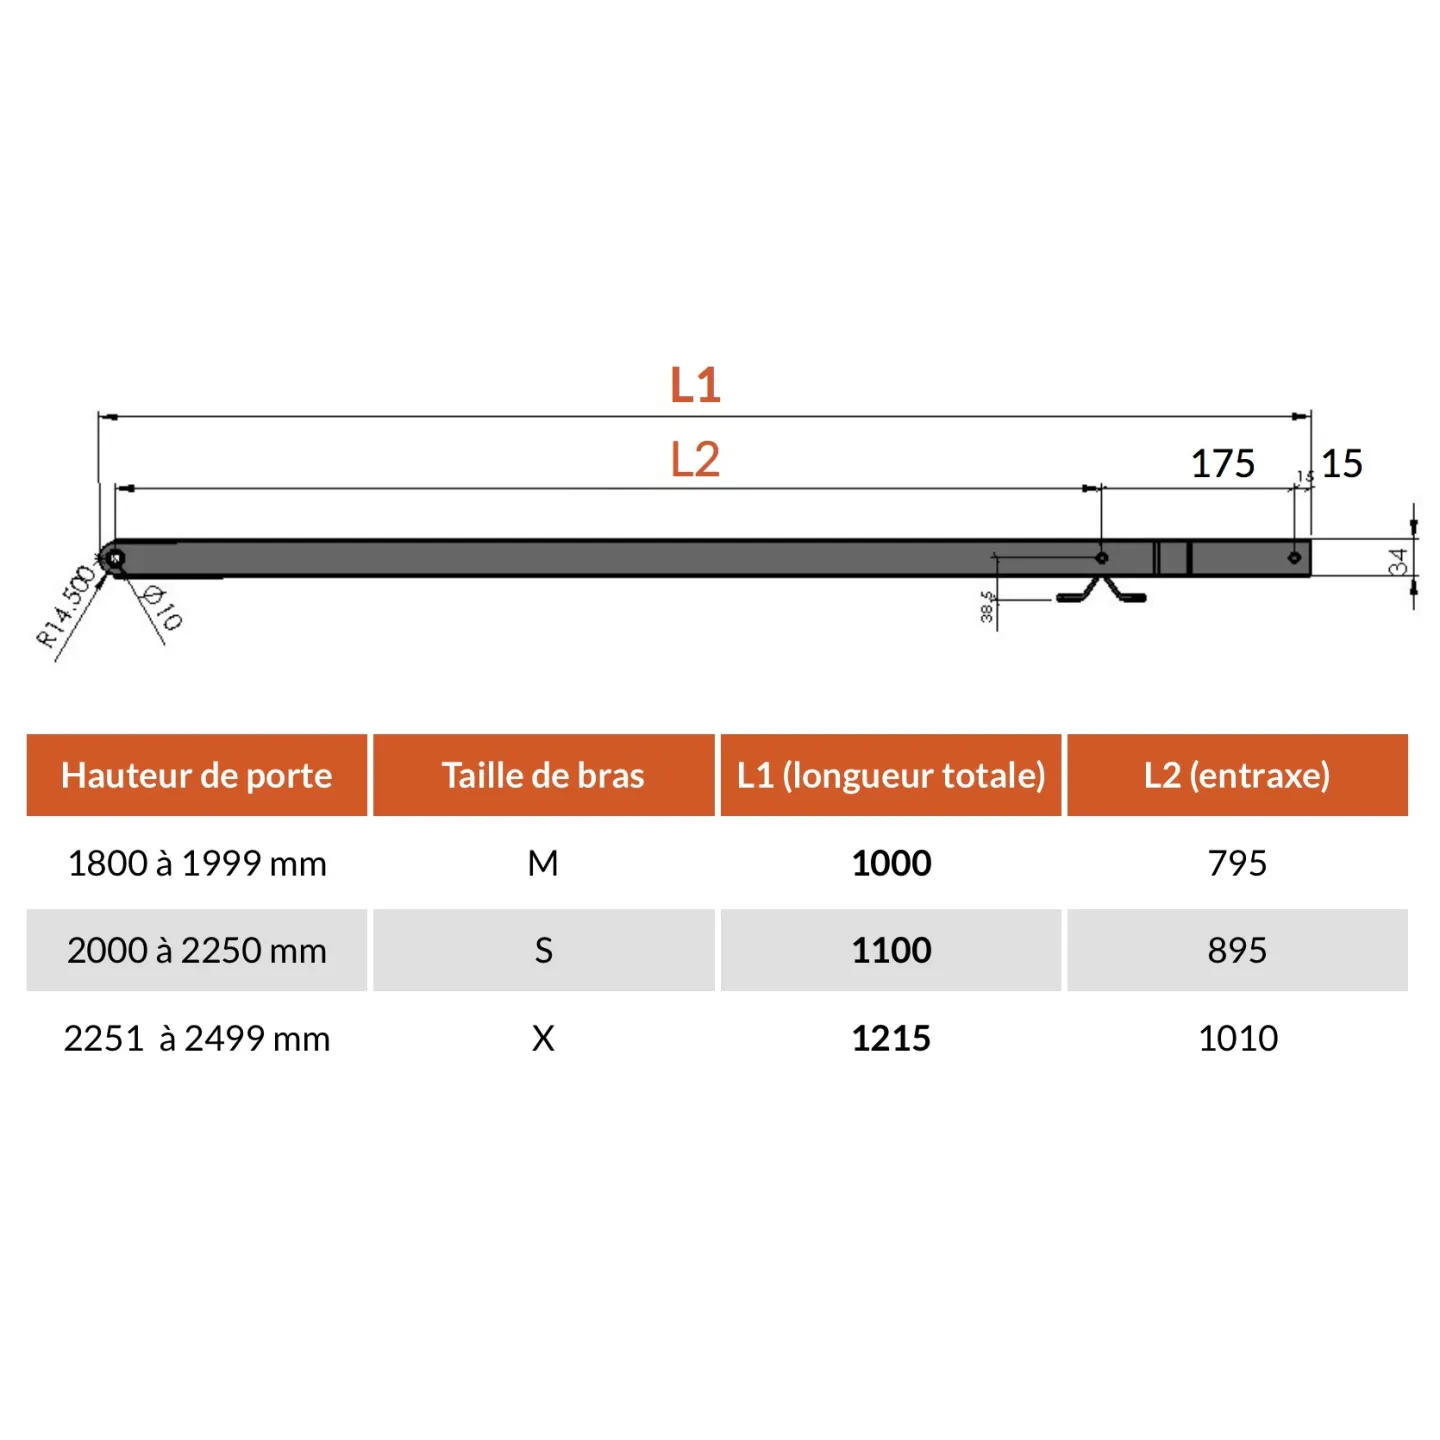
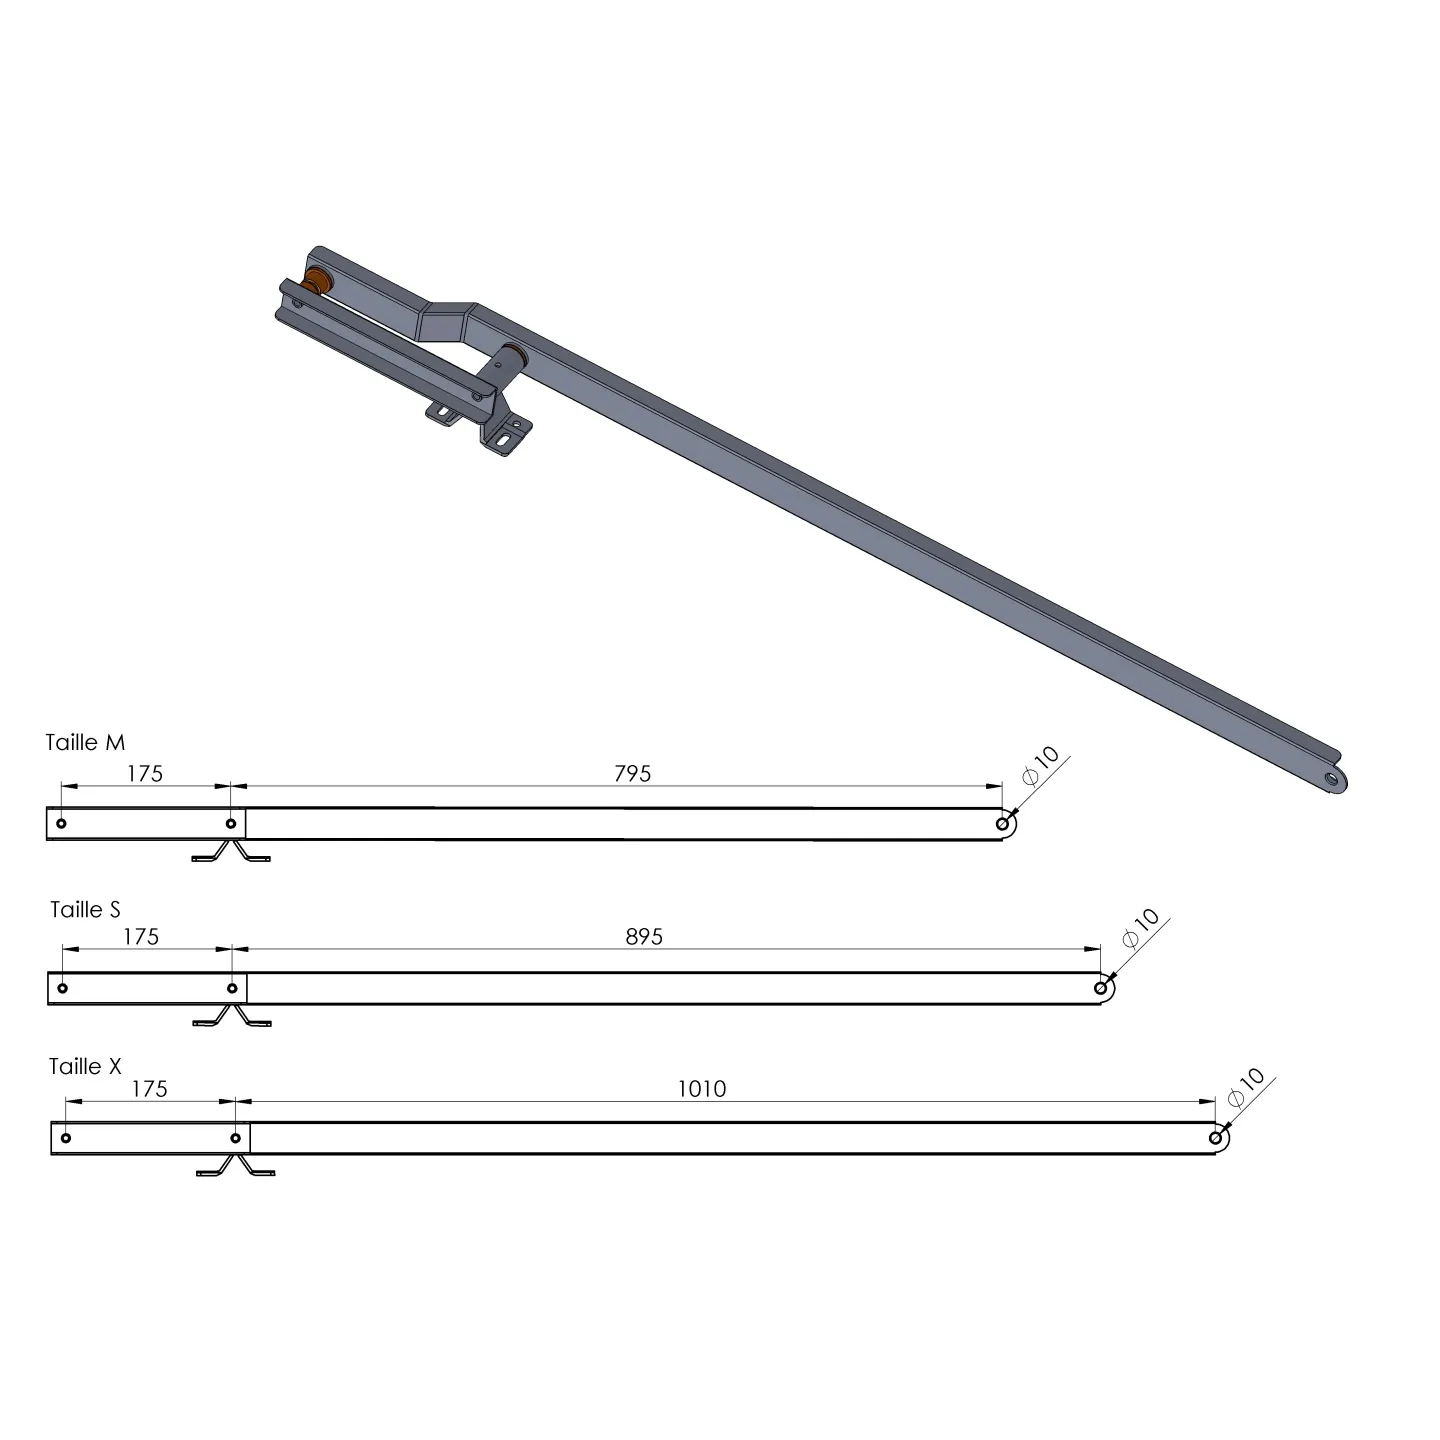
 Door height 1800-1999 Ref. M - 1000mm


